RojoRacing
Donut Powered Wise-guy
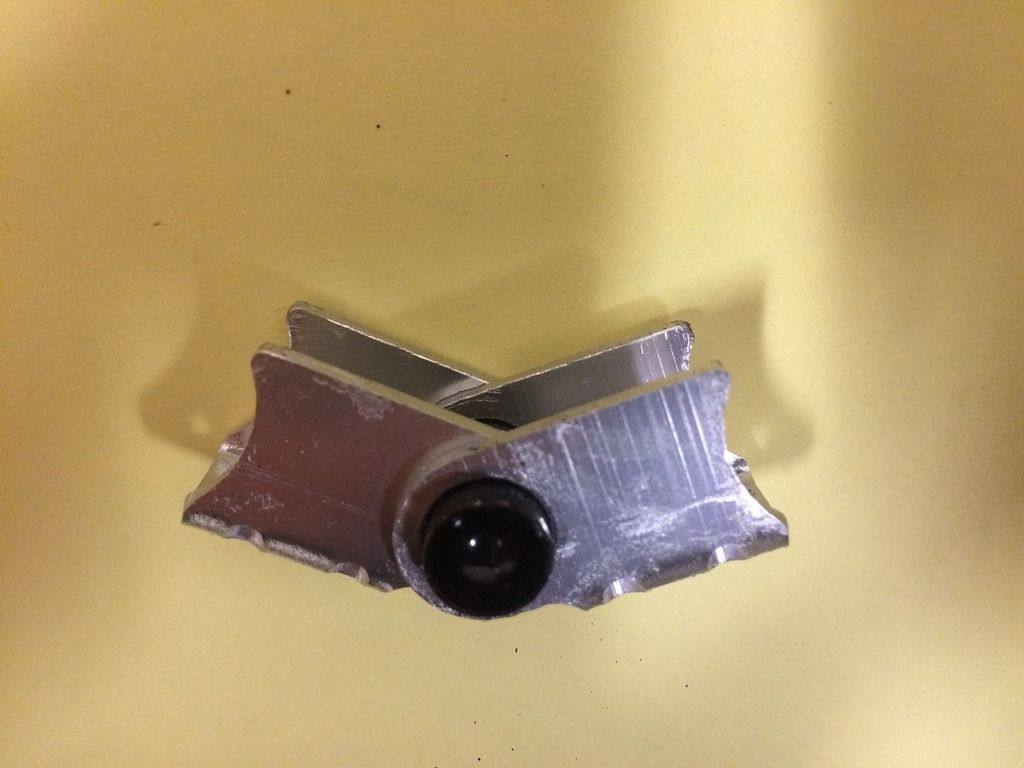
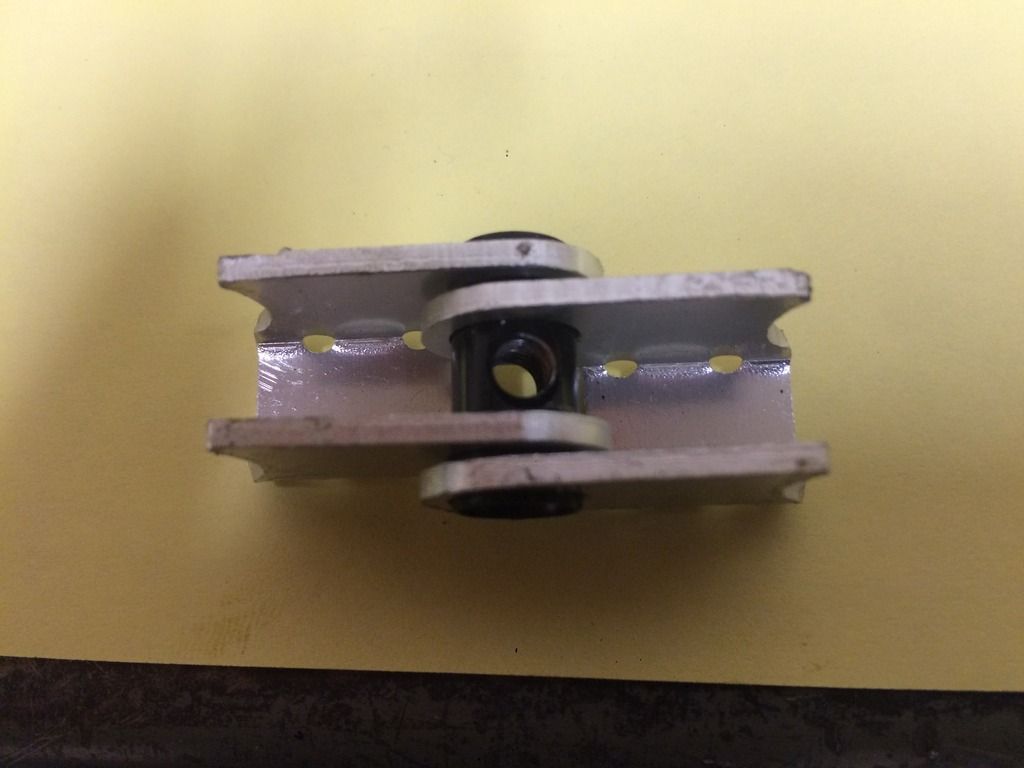
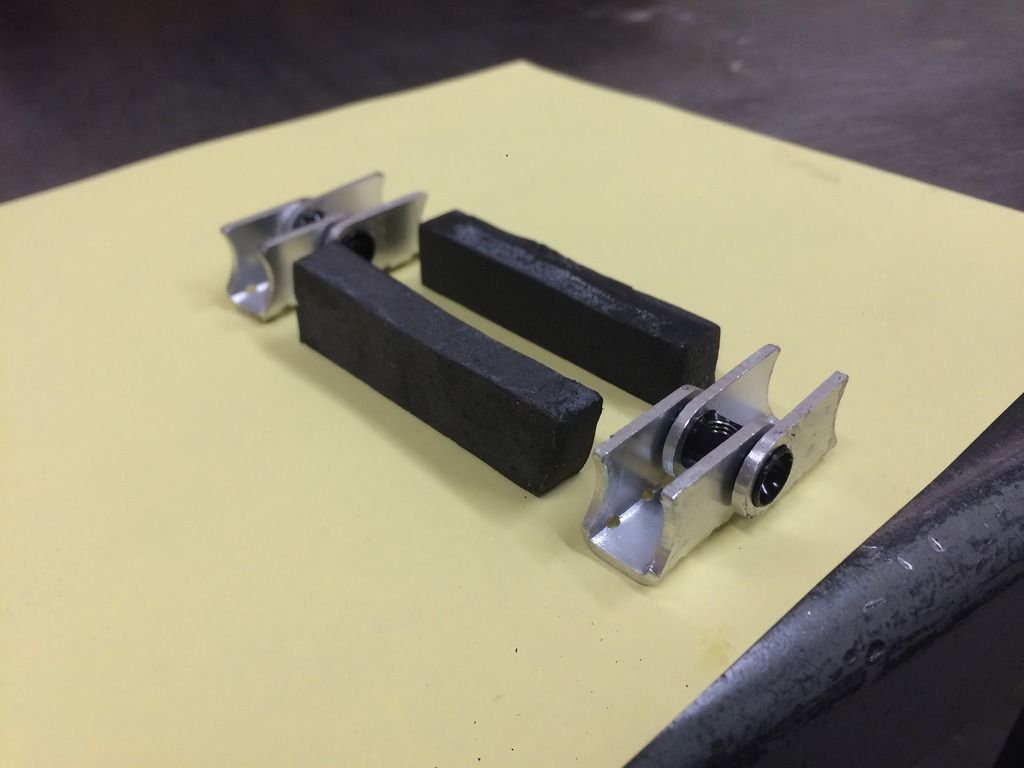
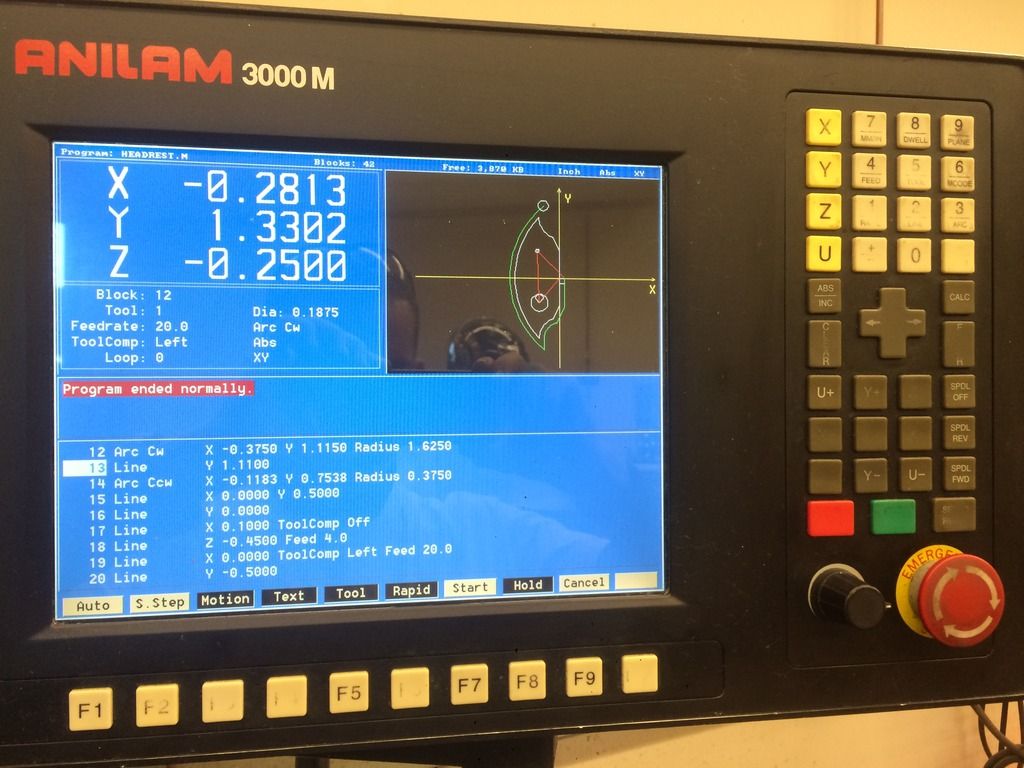
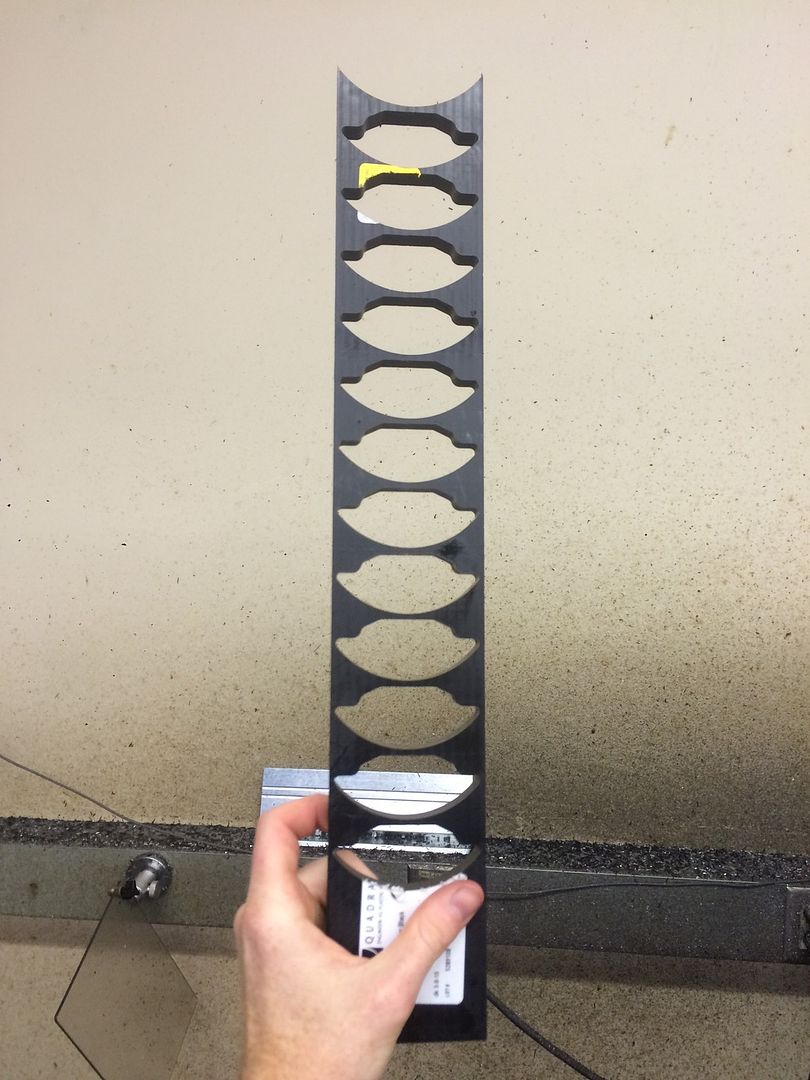
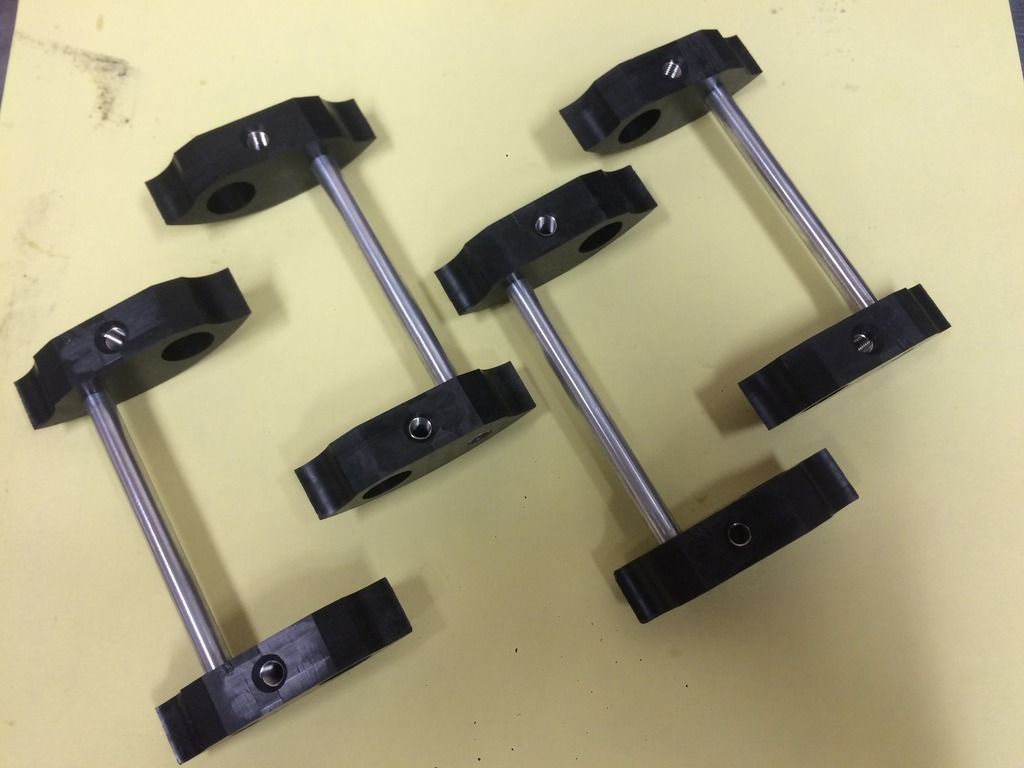
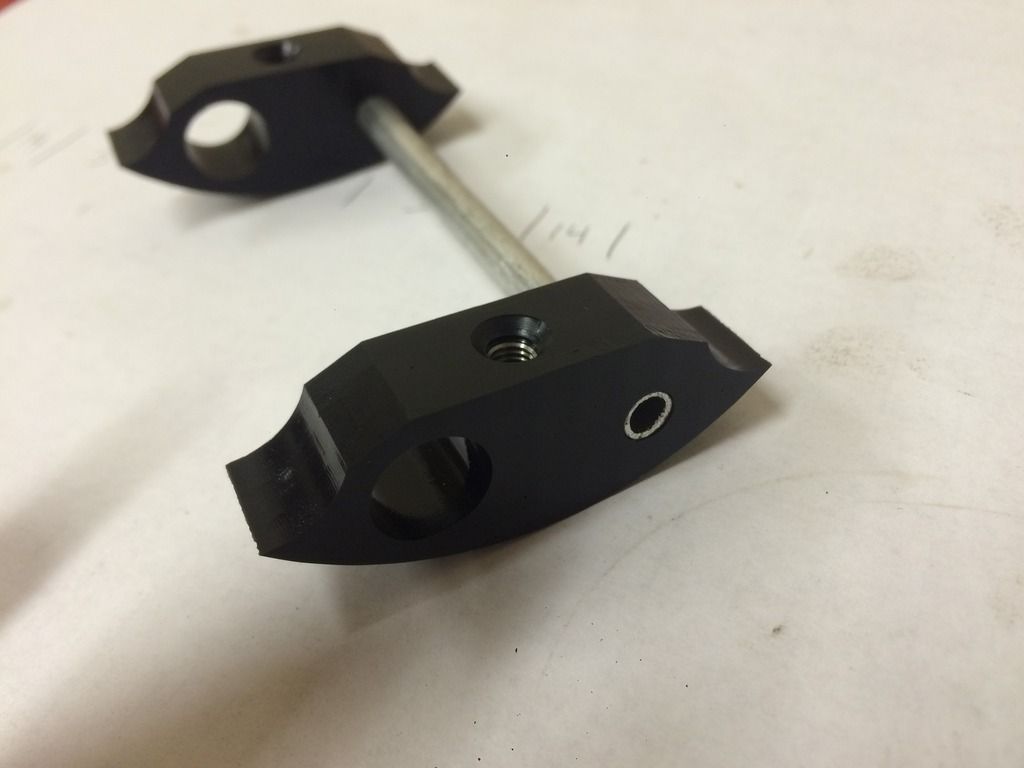
Ok so the OEM headrest clamp is a little finicky for my taste and in my bikes case it makes it impossible to make minor adjustments to the headrest length without having to completely removing the seat pan to get inside the frame a fiddle with the clamp. If you've suffered from similar issues then suffer no more, I've got a solution. Introducing the new and improved headrest clamp developed by RojoRacing's aerospace engineering department. Some of you may have seen the rough prototypes from yesterday's post in the "what did you do to your CruzBike" thread, but this is the production ready product with SS thread inserts and material reduction for reduced weight. The following contains photos and instructions to modifying your seat pan and installing the new clamp. I've pitched the idea to the people at Cruzbike and I'm sending one clamp to Maria Parker for further testing, maybe you will find this new style clamp standard on future Cruzbikes.
Installation:
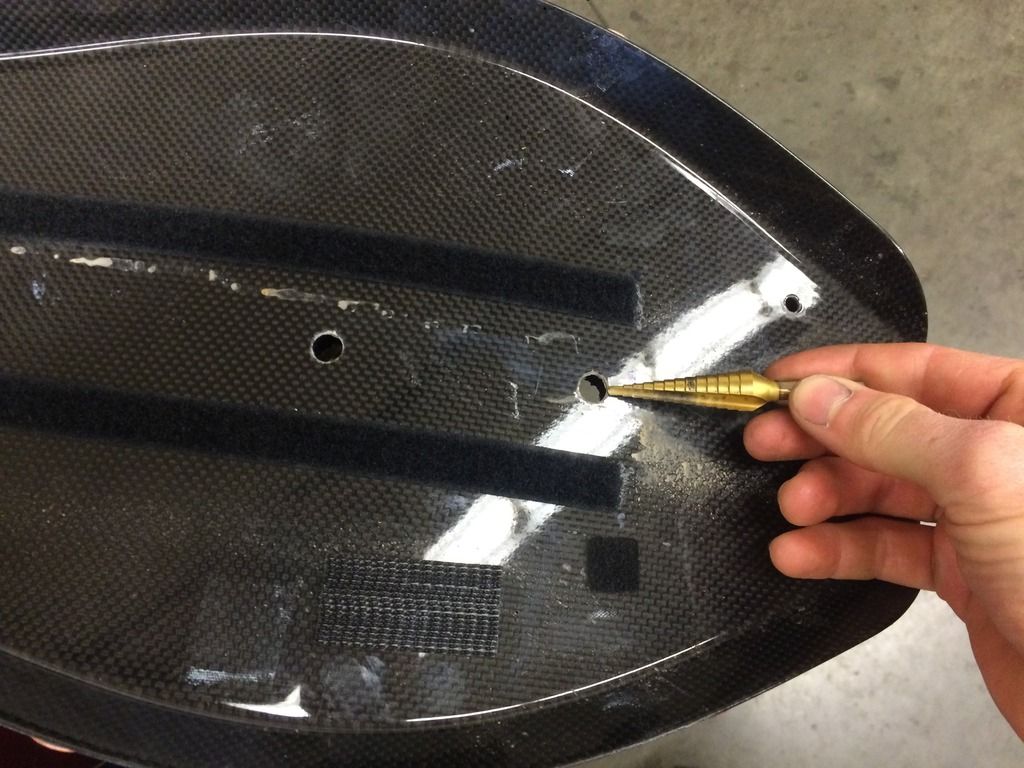
In order to loosen the new style clamp and adjust your headrest length without removing the seat pan you'll need to be able to access the two two bolts that tighten the clamp. This first step will require you to drill two 1/2 holes in your seat pan. Don't be afraid, with the correct drill bit drilling through carbon or sensitively brittle plastics is easy. First remove your seat pan and locate the impressions or scratches your two existing headrest clamp bolts have left in the seat pan. Under normal use you should be able to make out where they are rubbing the pan. If you still can't locate where they touch then you can try stuffing the bolt head with something spongy like a small piece of cotton or paper towel then place a touch of paint, marker or nail polish on top and replace the seat. Give the seat a good solid patting in the area in question to transfer the paint to the pan. Now with the two point to be drilled located you'll need to drill two half inch holes dead center over those marks. I recommend using a step drill like this instead of a normal bit that tend to snag composite materials as the pierce through. http://www.homedepot.com/p/Milwaukee-1-1-8-in-1-2-in-x-1-32-in-Step-Drill-Bit-48-89-9201/204312636
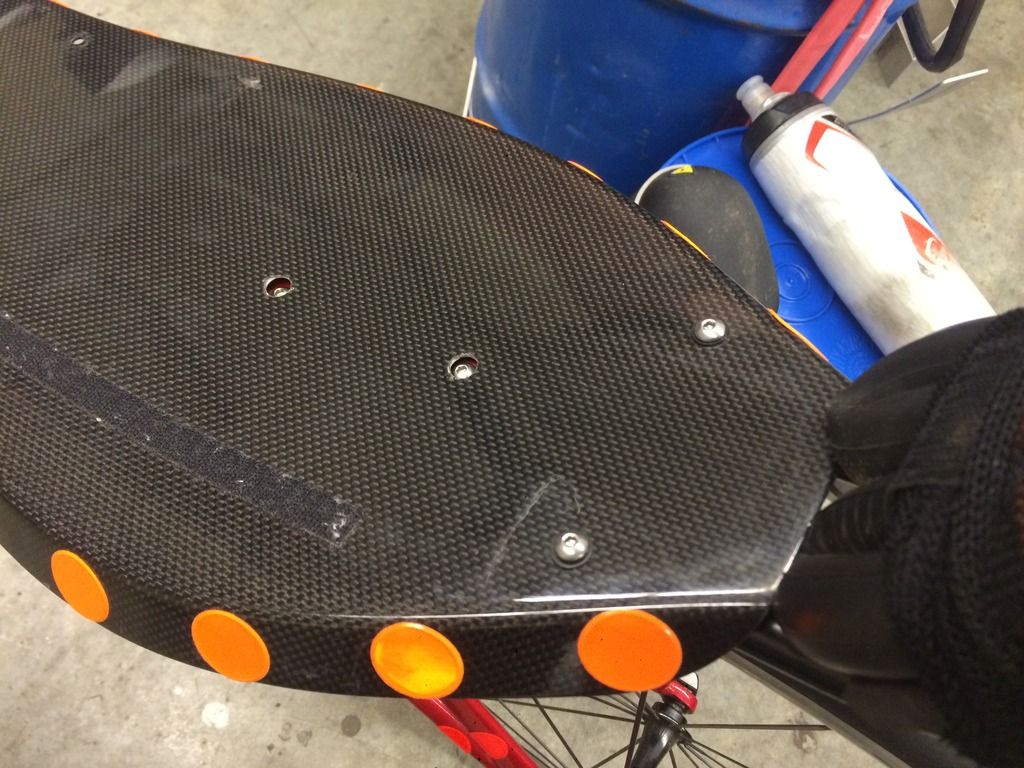
Now get the seat pan out of the way and remove your headrest from the bike completely, NOTE before removing mark some kind of reference point so you know were you had it set. Now completely remove the two two headrest clamp bolts and then remove the clamp itself be sliding it through one of the larger frame holes. Original clamp is pictured below on the right.
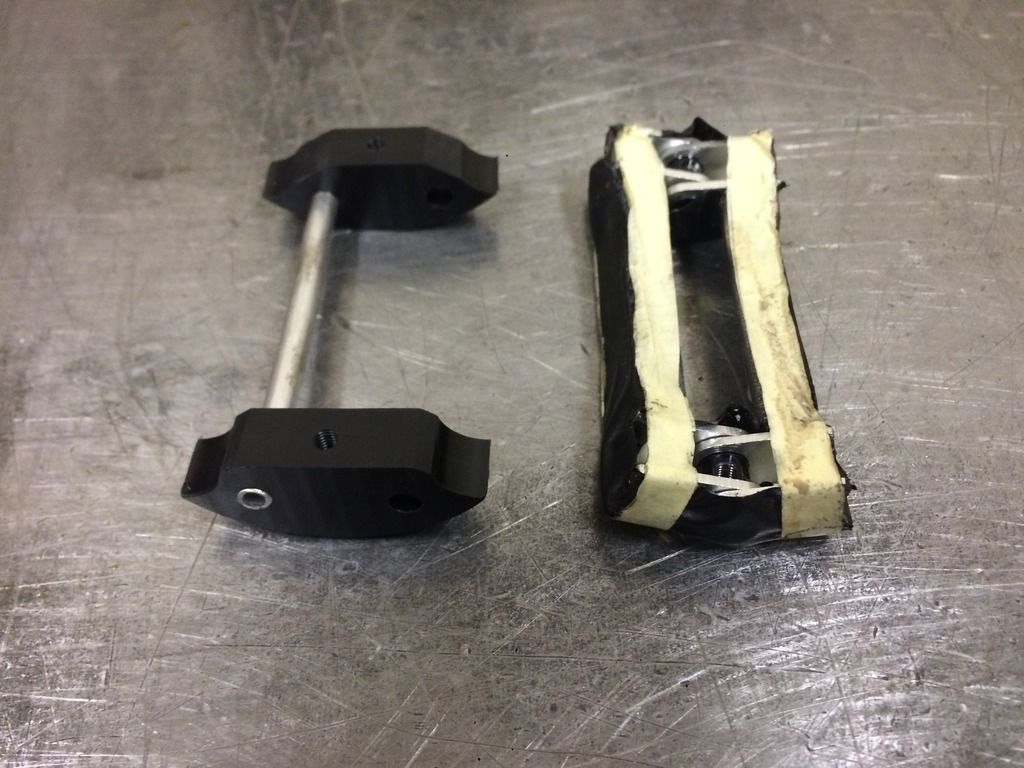
Now take the new clamp and confirm the two pieces are parallel. They are pressed into the alloy tube but can be twisted with rough handling. Easiest way to fix any alignment issues is to place the part flat sides down and give it a solid press. They don't have to be perfect since they will fix themselves after you tighten them the first time. You just need them parallel enough as to not interfere with the headrest tubes as you slide them in.
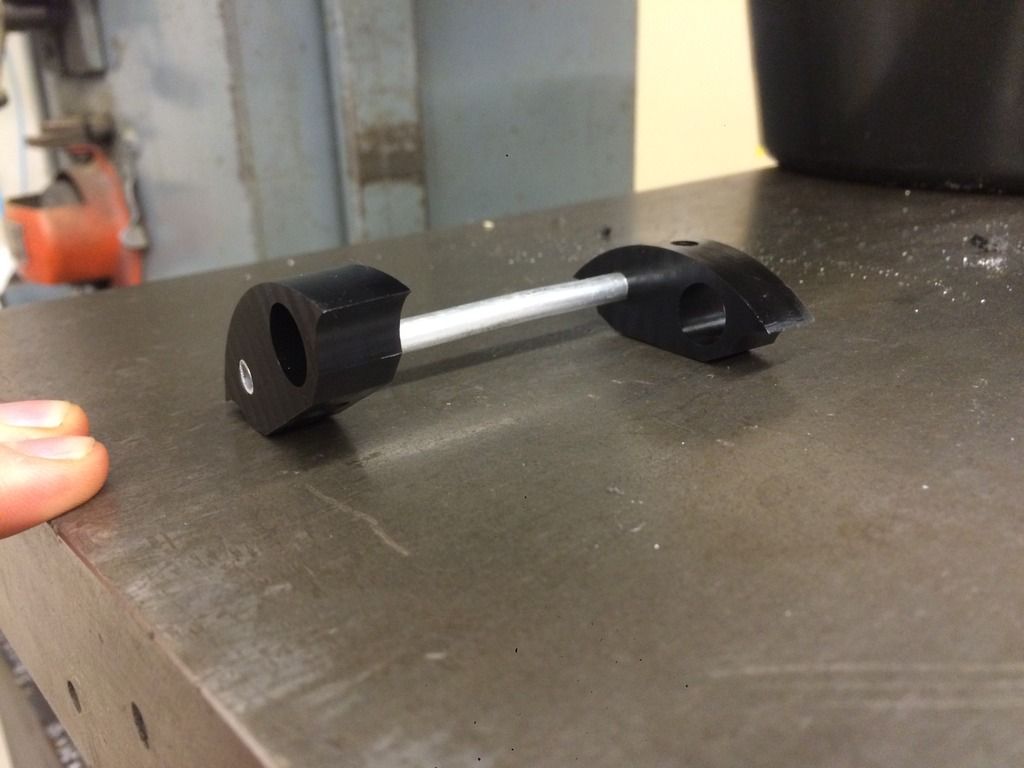
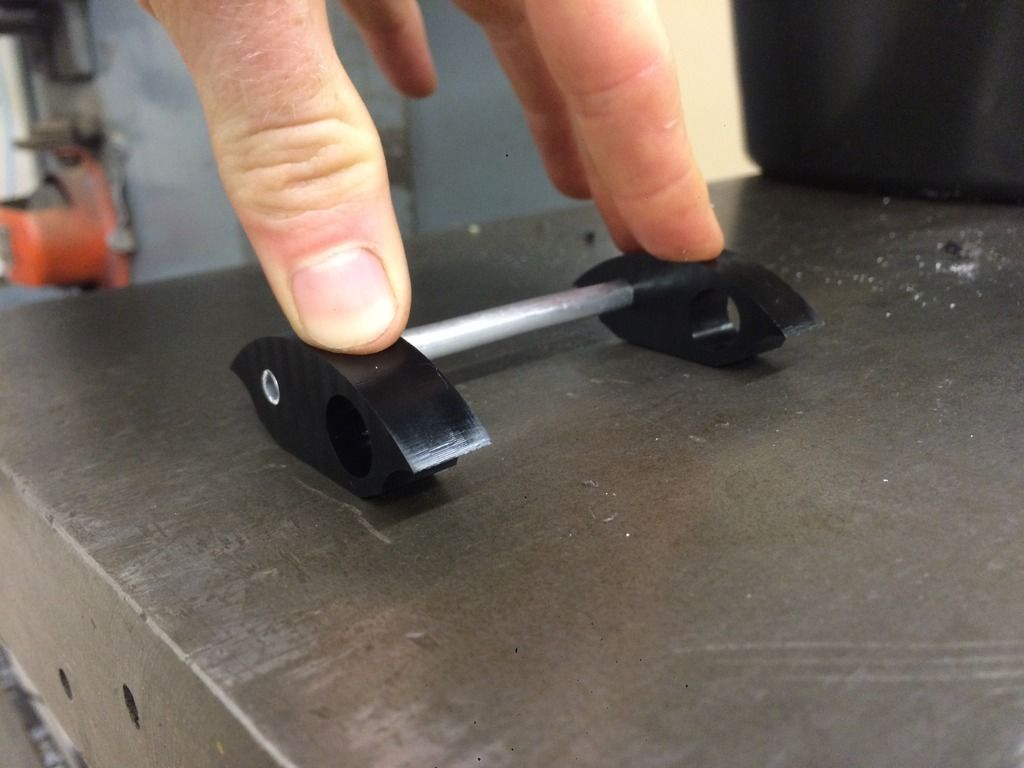
Now just slide the new clamp into the frame and thread in each of the original bolts a few turns each, just enough to get them started is all you need. Once that's done take a look inside and make sure the two pieces are sitting flat in the frame and as low as possible. You want max clearance from the tubes as you insert the headrest.
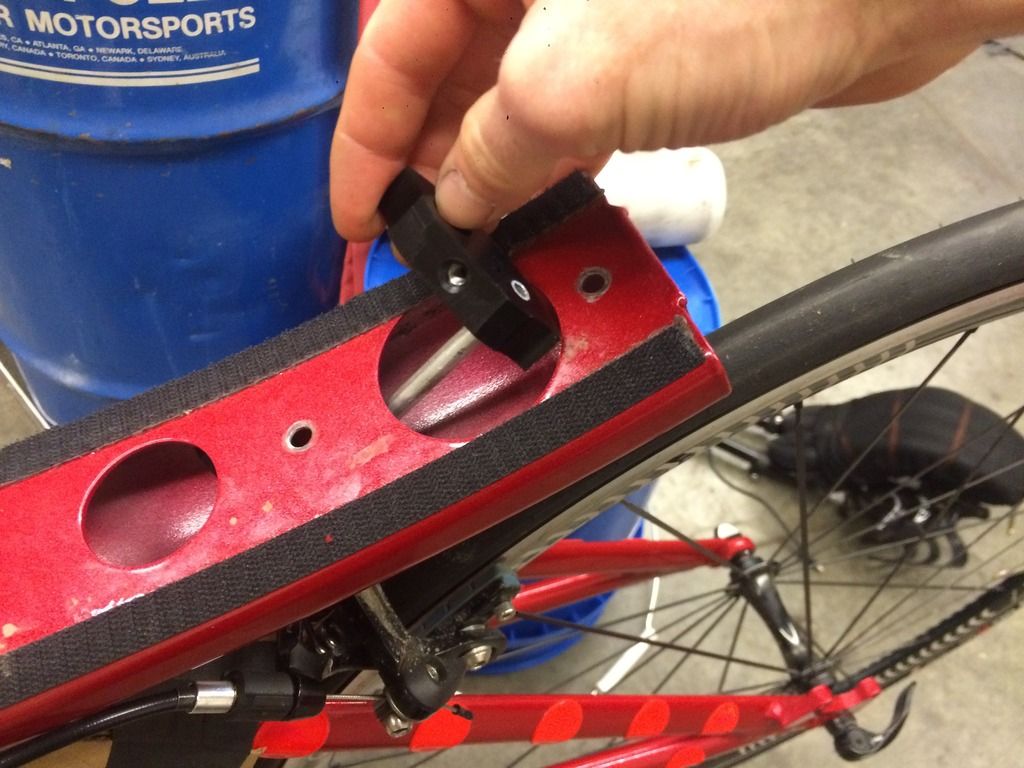
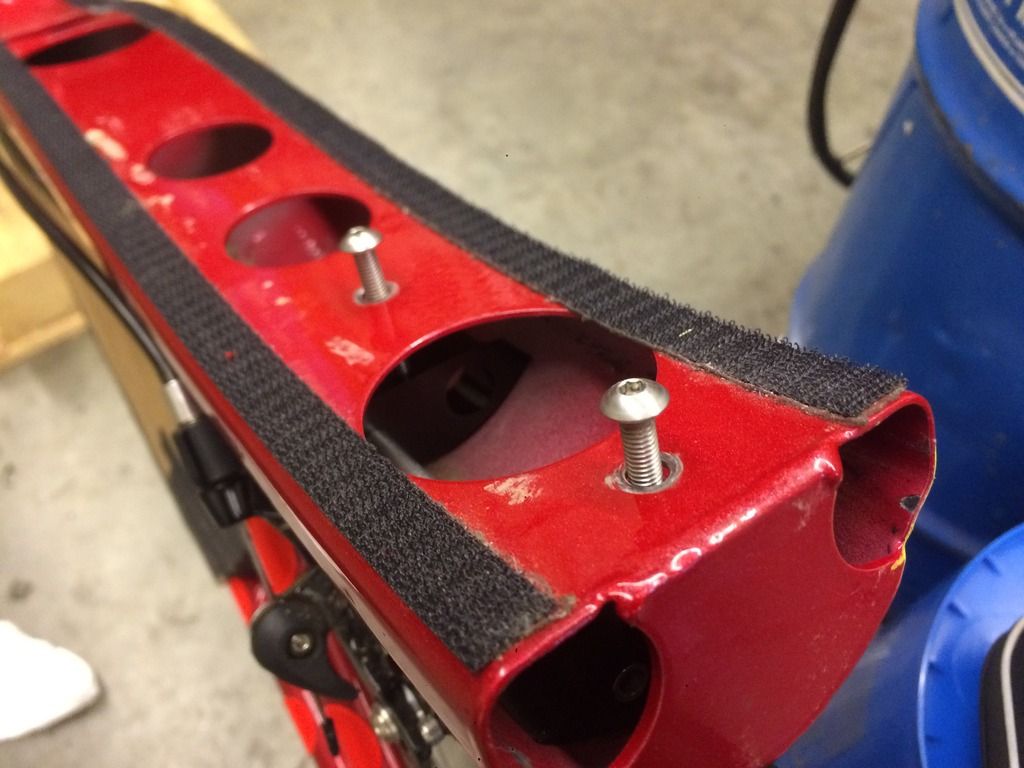
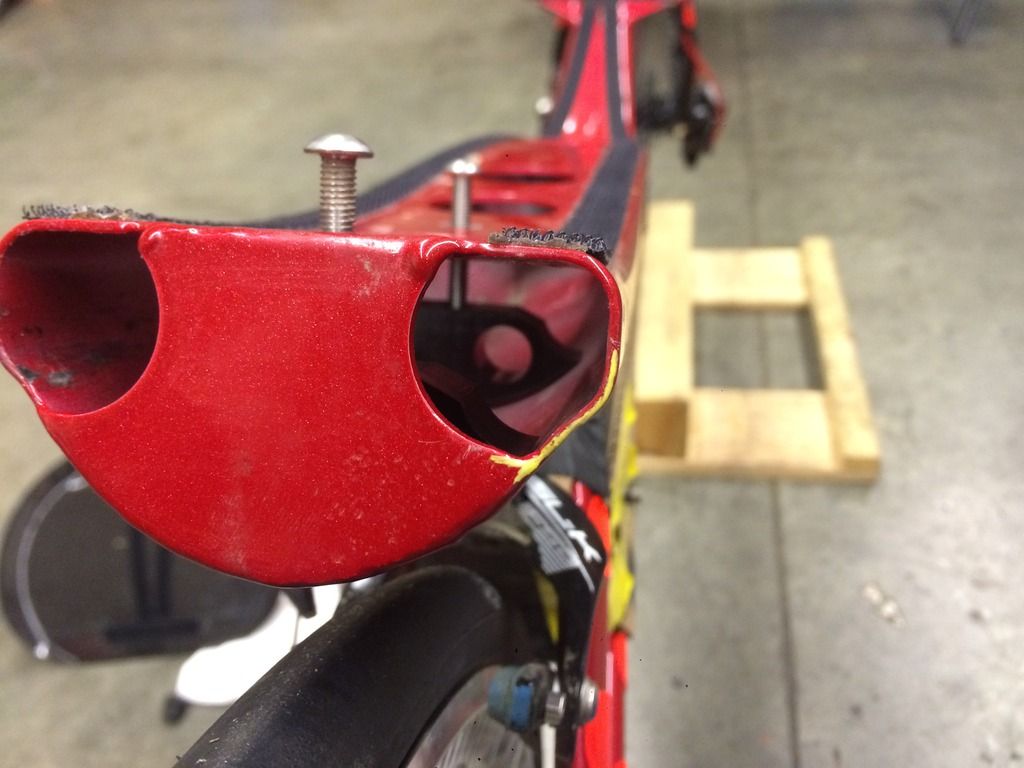
Now slide your headrest in as far as you previously had it and tighten the bolts to 5nm or 44inch/lbs. It doesn't take much force to hold the headrest from sliding.
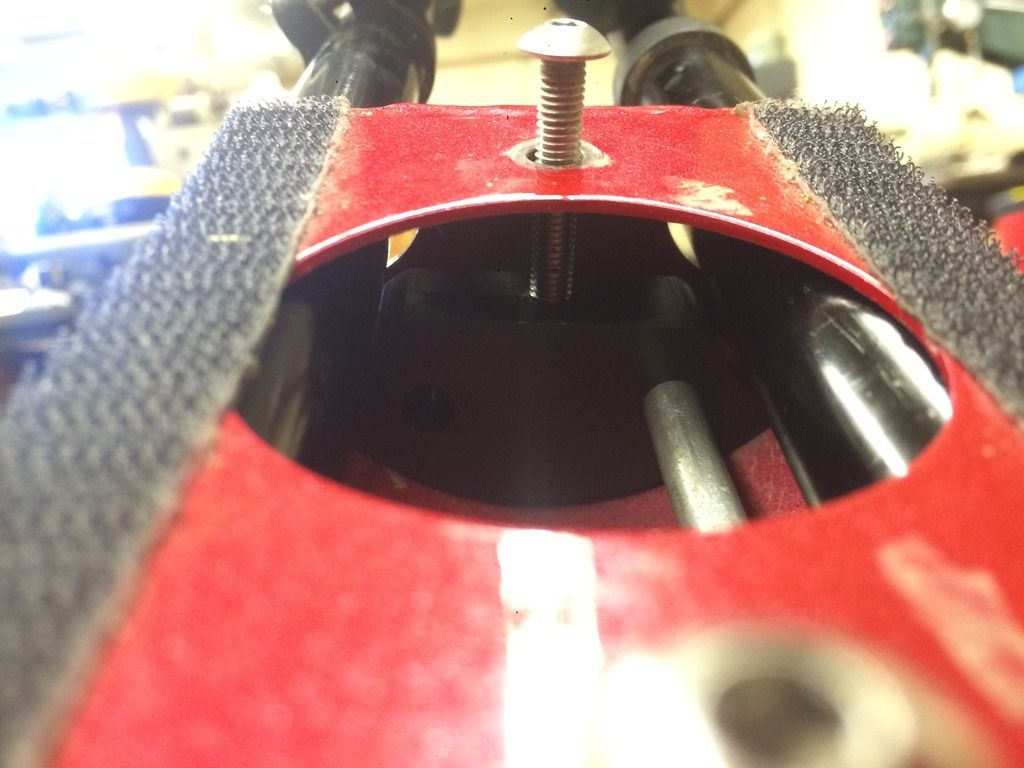
After the headrest is all tight go ahead and completely reinstall the seat pan and seat pads and your done. Now all you have to do now to adjust your headrest length is peel back the seat pad, loosen the two rear seat pan bolts, loosen the two headrest clamp bolts and slide the headrest.

As with all RojoRacing products they come with a 1 mph guarantee, that is we guarantee each of our products to make you faster by 1mph based on a 20mph avg speed


Installation:
In order to loosen the new style clamp and adjust your headrest length without removing the seat pan you'll need to be able to access the two two bolts that tighten the clamp. This first step will require you to drill two 1/2 holes in your seat pan. Don't be afraid, with the correct drill bit drilling through carbon or sensitively brittle plastics is easy. First remove your seat pan and locate the impressions or scratches your two existing headrest clamp bolts have left in the seat pan. Under normal use you should be able to make out where they are rubbing the pan. If you still can't locate where they touch then you can try stuffing the bolt head with something spongy like a small piece of cotton or paper towel then place a touch of paint, marker or nail polish on top and replace the seat. Give the seat a good solid patting in the area in question to transfer the paint to the pan. Now with the two point to be drilled located you'll need to drill two half inch holes dead center over those marks. I recommend using a step drill like this instead of a normal bit that tend to snag composite materials as the pierce through. http://www.homedepot.com/p/Milwaukee-1-1-8-in-1-2-in-x-1-32-in-Step-Drill-Bit-48-89-9201/204312636


Now get the seat pan out of the way and remove your headrest from the bike completely, NOTE before removing mark some kind of reference point so you know were you had it set. Now completely remove the two two headrest clamp bolts and then remove the clamp itself be sliding it through one of the larger frame holes. Original clamp is pictured below on the right.

Now take the new clamp and confirm the two pieces are parallel. They are pressed into the alloy tube but can be twisted with rough handling. Easiest way to fix any alignment issues is to place the part flat sides down and give it a solid press. They don't have to be perfect since they will fix themselves after you tighten them the first time. You just need them parallel enough as to not interfere with the headrest tubes as you slide them in.


Now just slide the new clamp into the frame and thread in each of the original bolts a few turns each, just enough to get them started is all you need. Once that's done take a look inside and make sure the two pieces are sitting flat in the frame and as low as possible. You want max clearance from the tubes as you insert the headrest.


Now slide your headrest in as far as you previously had it and tighten the bolts to 5nm or 44inch/lbs. It doesn't take much force to hold the headrest from sliding.

After the headrest is all tight go ahead and completely reinstall the seat pan and seat pads and your done. Now all you have to do now to adjust your headrest length is peel back the seat pad, loosen the two rear seat pan bolts, loosen the two headrest clamp bolts and slide the headrest.

As with all RojoRacing products they come with a 1 mph guarantee, that is we guarantee each of our products to make you faster by 1mph based on a 20mph avg speed


