ReklinedRider
Zen MBB Master
Liking this Q more and more, so I'm interested in getting the seat back angle a good bit lower. Ideally I'd like to get it to 45degrees since that was what was on my Silvio 1.5 and to me was ideal because i did not need a headrest ever and it was way more aero than bolt upright. I seem to be maxed out at around 57 degrees. Does anyone know the lowest this seat angle can be within the limits of this bike and if so, how to get there? If I remember correctly, some of the earlier Q's could go back further but not sure on this 2022.
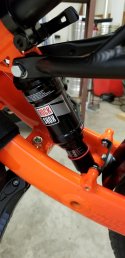
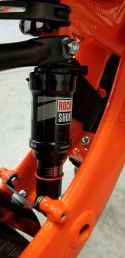
Also.....the spring shock creaks a lot, mostly when going over minor road bumps. After all the other creaks I initially had were fixed, now the shock has chimed in! Can it or does it need lubrication? If it can't be fixed I'll just live with it, but it would be great to get rid of the creaking.
Also.....the spring shock creaks a lot, mostly when going over minor road bumps. After all the other creaks I initially had were fixed, now the shock has chimed in! Can it or does it need lubrication? If it can't be fixed I'll just live with it, but it would be great to get rid of the creaking.